Thursday 9 October 2014

How I upcycled a chest of drawers


     Some subscribers may be relieved to know that this will probably be my last upcycling post for a while! My open plan living and dining room is now more or less complete in terms of everything having been given a shabby chic makeover. This post is also slightly different as the drawers were bought with the intention of upcycling, it wasn’t a piece of furniture I already had. Realising that I needed somewhere to hide shoes we went to the rather brilliant Katharine House Hospice Recycling Centre just outside of Stafford. I’d had a big clear out and was dropping off some donations anyway so I bought the drawers on a bit of a whim.
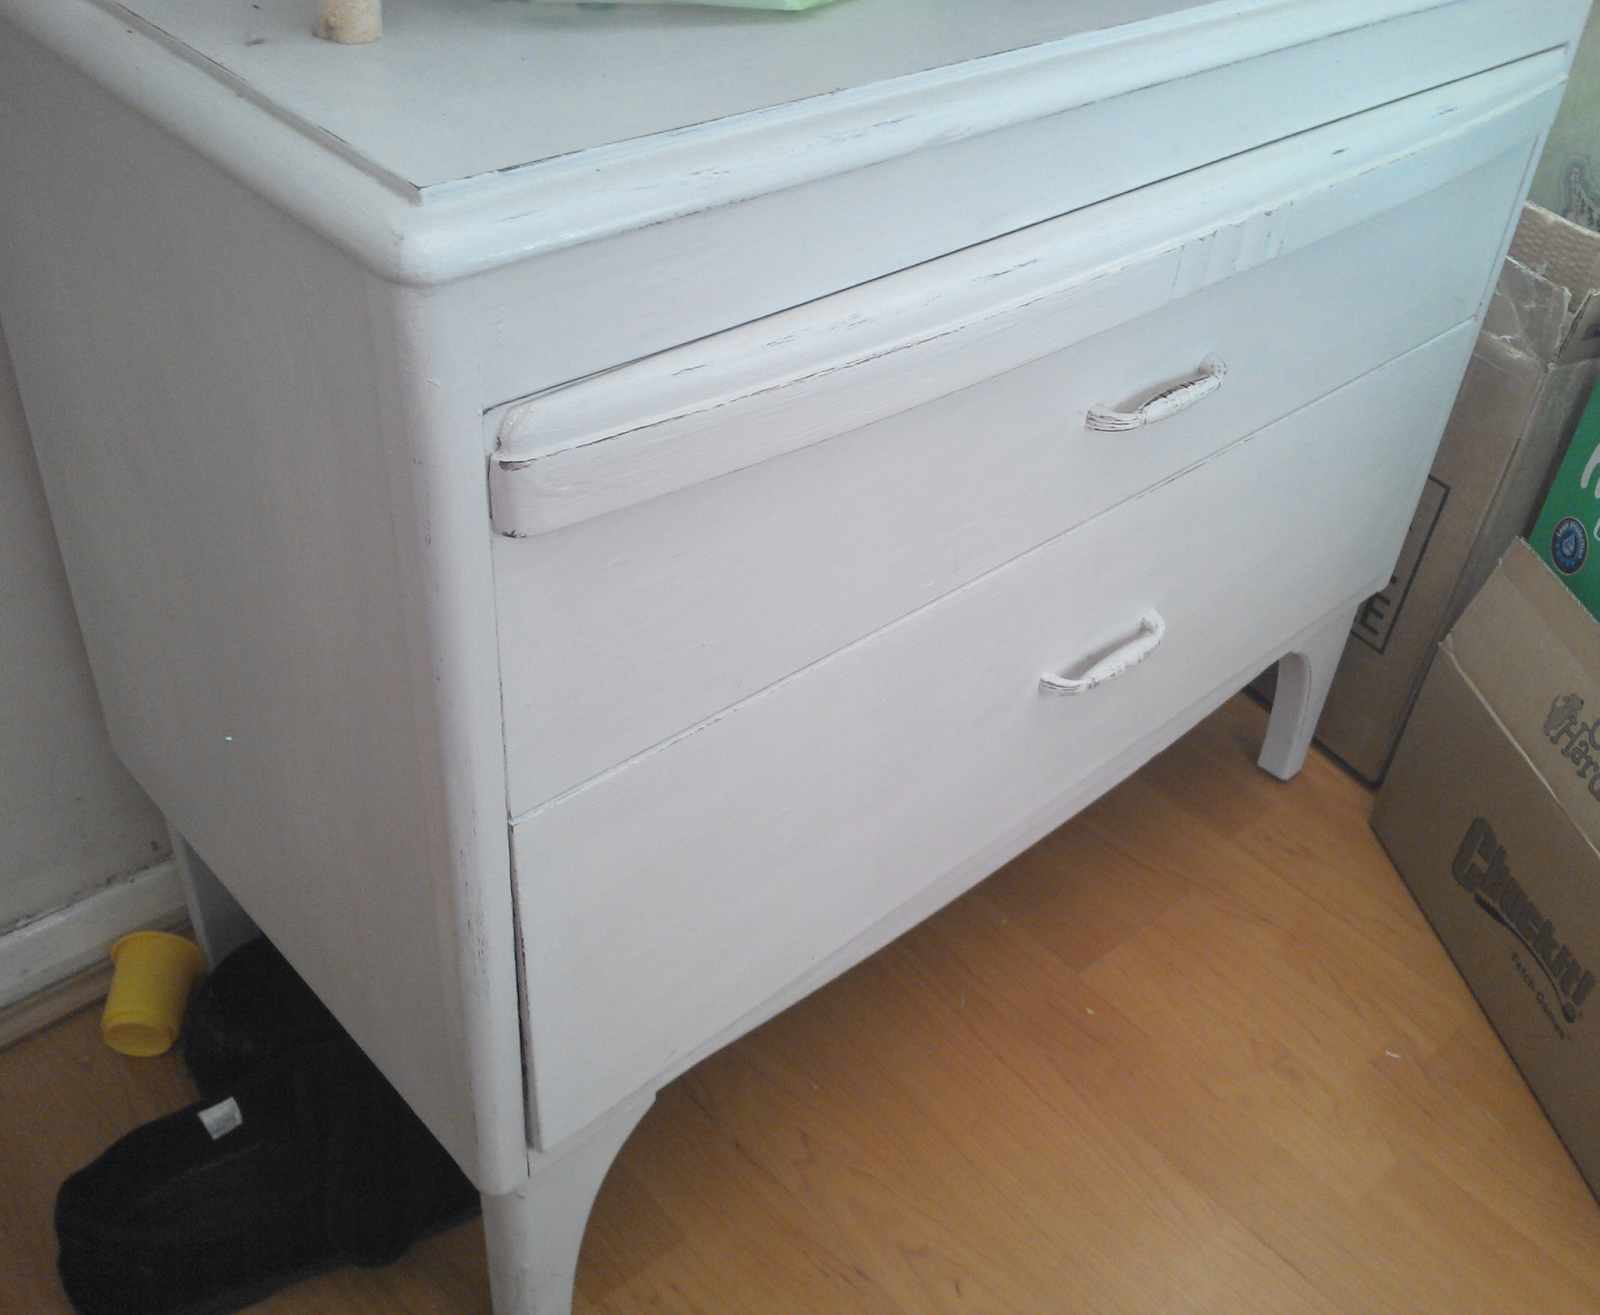
The finished drawers
     Originally, the drawers were part of a dresser and had a lovely mirror attached but I had no need for it and so I took it off and left it behind for someone else to buy to raise even more money for Katharine House Hospice. The drawers weren't fitting the chest well and each drawer was sticking but for only £10 this wasn’t a great concern.
I loved the decorative shape of the wood on the top drawer


     The first thing I did once I got it home was to try to work out why the drawers were sticking and how to fix it. Because of the age and condition of the wood I was worried it might be tricky to sort out but actually it was quite simple. I only had to sand down the edges of the drawers and then rub plain candle wax along the runner sections to prevent sticking. I’d remembered the candle wax trick as something my mother had told me so it shows that the tried and tested methods are sometimes the best.
The drawer after a sanding

     Once that was sorted the rest of the process was very much routine to me by now, following my numerous other upcycling projects. I sanded all of the outside of the drawers to give the paint some purchase.

I completed the sanding outside again so I had more space

The original dark varnish is clear here
   It took two coats of paint (with drying time in between) before sanding to give a distressed finish, and then a comprehensive polish with clear Briwax as before to seal the emulsion.
I tried to distress the edges the most

Hello hidden shoes!

I love the original handles

     I’m very happy with the result and to turn a £10 dresser into something that will get plenty of use is fantastic, especially knowing that the £10 went to a really worthy charity that does lots of good work in the community. Once again I’m pleased that I chose to adapt an existing piece rather than go out and buy a ready-made set of drawers, reducing raw material usage and supporting a great charity.

All blog content and photos are Copyright of Charisse Sayers Proofreader & Copywriter www.charisse-sayers.com I welcome all feedback and would love to know your thoughts so please get in touch, comment, share, like and generally get involved!

Wednesday 8 October 2014

How I created shabby chic bookshelves


     This blog is slightly different to my recent upcycling series as everything was made from scratch rather than fashioned from existing furniture. Basically, there is a little inset nook just to the right of my fireplace and it had three very rickety and cheap standard shelves in place when we moved in. It was literally a waste of space so I designed the best way to make use of the nook and my very talented other half made it a reality.
The shelves are also great for displaying birthday cards!
     By using cladding wood that slots together it was very easy to make sturdy shelves that spanned the shelves exactly, so that not even an inch went to waste. Each shelf rests on a wooden block that’s been secured to the wall and then everything is concealed behind a piece of painted dado rail. This simple trick means that the shelves don’t have be finished to the highest level as the dado rail will conceal the majority of the work, as well as create a lip on the edge to stop anything else on the shelves from falling off.
Top view of a shelf
Underside view of a shelf
     The cupboard at the bottom was once again designed to provide some concealed storage space, like when I upcycled my bookcase, because storage is something the room desperately lacked. The interior shelves were made with the same method as mentioned earlier, although the cupboard is a little deeper to accommodate an existing plug socket and obviously didn’t need the dado rail trim.
The extra depth has created a handy ledge on top too
Sooo much junk can be hidden away!
      The exterior is made from a thick plywood to ensure that it’s sturdy. I used the same trick with textured wallpaper as on my bookshelf to give the illusion of a solid wood panel. This time I made the design longer and thinner to suit the narrower style of the cupboard. As before I simply used PVA to glue the paper on and then painted an undercoat of dark grey to add depth once the light grey paint had been applied on top.
All that stuff neatly hidden from view - hooray!
The paintwork goes great with all my other upcycled furniture
     I didn’t distress this cupboard as plywood doesn’t exactly take kindly to sandpaper but I used the same paint and polish technique as I’ve used before so that it matches the rest of my furniture. All in all the end result is absolutely brilliant and provides a neat and handy place to store board games and DVDs out of sight, as well as keeping books, and birthday cards, neatly on display.

All blog content and photos are Copyright of Charisse Sayers Proofreader & Copywriter www.charisse-sayers.com I welcome all feedback and would love to know your thoughts so please get in touch, comment, share, like and generally get involved!

Tuesday 7 October 2014

How I upcycled my dining chairs


     Following on with my series of upcycled furniture, here I show how I tackled my very beaten up old dining chairs. These six seats are part of a dining set I bought from a friend for £40 about four years ago, although their true age is much older and they originally came to me with heavily worn snot green velour seats. I swiftly bought a couple of packs of scarlet red pillowcases and with the help of a staple gun reupholstered them and they’re been red ever since. However, the varnish on the frames has worn off and they needed the familiar upcycling treatment that I’m now very fond of.
The original chairs

     One thing I haven’t done though is the table. The wooden table is a six seater with a pull out middle section to make it suitable for eight seats if needed, and because it’s always been covered and well cared for the table is pristine so I couldn’t even think of sanding it down and repainting it. I invested in a Rob Ryan print table cloth from Wild & Wolf that drapes over the sides of the table to both protect it and disguise the fact that the table is still varnished wood. The ends of the dark wooden legs sort of blend into the shadows so I’m quite happy with this compromise.
I am a Rob Ryan addict


     As for the chairs, it was very much a similar routine to my earlier blogs regarding upcycling so I won’t describe the process in detail here. The seats were unscrewed and then the frames sanded down. Despite being a relatively small surface area the shape of the frames made this quite a tricky task and as you can see I did this in the garden so there was more space.
Freshly sanded

     For continuity in style I used the same paint and wax polish as before to treat the chairs, as well as the 120 gauge sandpaper to distress the edges. Considering I have been giving all of my new furniture two coats of paint it’s impressive how far the paint goes, cost per project must only work out at a couple of pounds, which is great and much cheaper than some specialist upcycling paints on the market.
First coat of paint

The chair production line

     Once painted and finished the red seats were reattached and the vibrant contrast of the pale grey and scarlet mirrors the bold colours in the Rob Ryan table cloth so I’m very happy. Once again it makes the dining area appear much larger as the old dark set was soaking up so much of the light. 
Back view

The bookcase I upcycled is just visible to the right here

Distressing visible on the edges

Tucked in with the new table cloth

Plenty more upcycling blogs to come!

All blog content and photos are Copyright of Charisse Sayers Proofreader & Copywriter www.charisse-sayers.com I welcome all feedback and would love to know your thoughts so please get in touch, comment, share, like and generally get involved!

Followers